Working with Graphite Pencil
Graphite has always been my go-to medium for art. It was my first love when I started learning basic drawing techniques. Because I am self-taught, it was the easiest medium to master. It’s also the most portable and clean medium, so it was convenient when I was raising my children.
In the 80s, I developed the “Lee Hammond Blended Pencil Technique” and started teaching it to small groups. Like me, the students found graphite to be the easiest medium to control. By the 90s I was hooked — and writing books about it. This technique has changed the way people draw.
My book will make you proficient in graphite drawing. Even if you have previous experience, the projects will give you additional skill and understanding. I hope the illustrations will inspire you and prove that graphite pencil is not just a tool to be used for preliminary sketching, but is a fine-art medium in its own right.
Graphite Tools
You cannot create quality artwork with inadequate art materials. My blended pencil technique requires the right tools to create the look. Don’t scrimp in this department or your art will suffer.
I’ve seen many of my students blame themselves for being untalented when it was their supplies keeping them from doing a good job. The following tools will help you be a better artist.
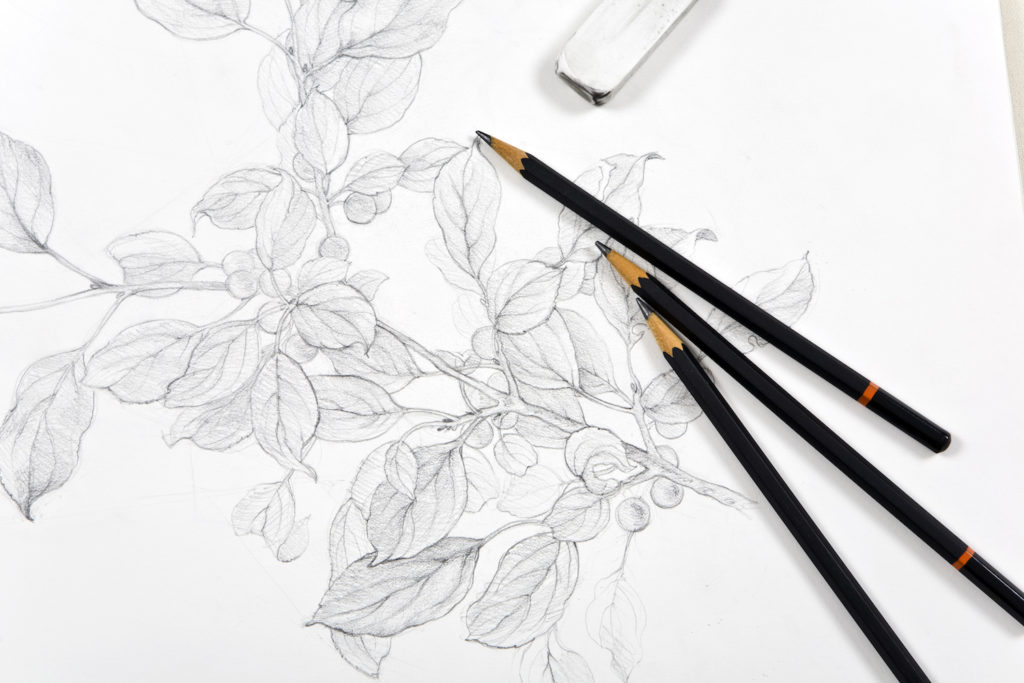
Pencils
Mechanical pencils are great for fine lines and details, and you never have to sharpen them. While a mechanical pencil is my pencil of choice, the lead is the most important part. 2B is a soft lead that offers a smooth blend. You can also use 4B or 6B with similar results.
Smooth Bristol Board or Paper (Two-Ply or Heavier)
I like a paper that is very smooth (plate finish) and can withstand a good deal of rubbing, scratching and erasing.
Blending Tortillions and Stumps
Both are used for blending the graphite pencil. Tortillions are spiralwound pieces of paper that are good for small areas. Stumps are paper pressed and formed into the shape of a pencil. They are pointed on both ends and work well for blending large areas.
Kneaded Erasers
These erasers resemble modeling clay and are essential to a blended pencil drawing. They gently lift highlights without ruining the surface of the paper.
Stick Erasers
These erasers resemble mechanical pencils with a click mechanism for advancing them. The erasers in these are made of vinyl, and they erase pencil marks cleanly. The small point of the vinyl eraser can remove precise lines and details within your drawing. They come in a variety of sizes from large tips to micro.
Workable Spray Fixative
This is a spray used to seal your work and to prevent it from smudging when you are finished. Workable means you can spray down an area and continue to draw on top of it. However, I don’t recommend it for the techniques I share in my book. It will change the smoothness of the paper and interrupt your blending.
Drawing Board
It’s important to tilt your work toward you as you draw. This prevents the distortion that occurs when working flat. Secure your paper and reference photo with a clip.
Ruler
Rulers help you measure and graph your drawings.
Acetate Report Covers
Use these covers for making graphed overlays to place on top of your photo references. They’ll help you accurately grid your drawings.
Blending Graphite
Back in the 80s when I first started teaching my Lee Hammond Blended Pencil Technique, graphite drawing had a looser, more impressionistic approach. Smooth blending was rarely seen. Over the years, this smooth and realistic approach has been embraced by thousands of people and become one of the most popular styles of drawing.
To create this look, blend your graphite until it appears smooth. It is not as easy as it looks, but with practice you can master this technique.
The following examples show what your blending should and should not look like. The smoothness of your blend will depend on how smoothly you apply the pencil.
It’s important to place your pencil lines down slowly and evenly at the very beginning. If your pencil lines are put down in a fast, scribble-like application, no amount of blending will make them look smooth.
Don’t Scribble
No amount of blending will ever be able to make this scribbled application look smooth.
Smooth Lines from Dark to Light
This is what your pencil lines should look like before you begin blending. The individual lines are barely visible. Work from dark to light, going up and down and back and forth at the same time to help the liens fill in as you go.
Use a Light Touch for Blending
Apply the tortillion in the same up-and-down, back-and-forth application as you applied your graphite pencil. Do not press down hard as you blend — this will just rough up the paper and make it look choppy. The lighter your touch, the smoother your blend will be.