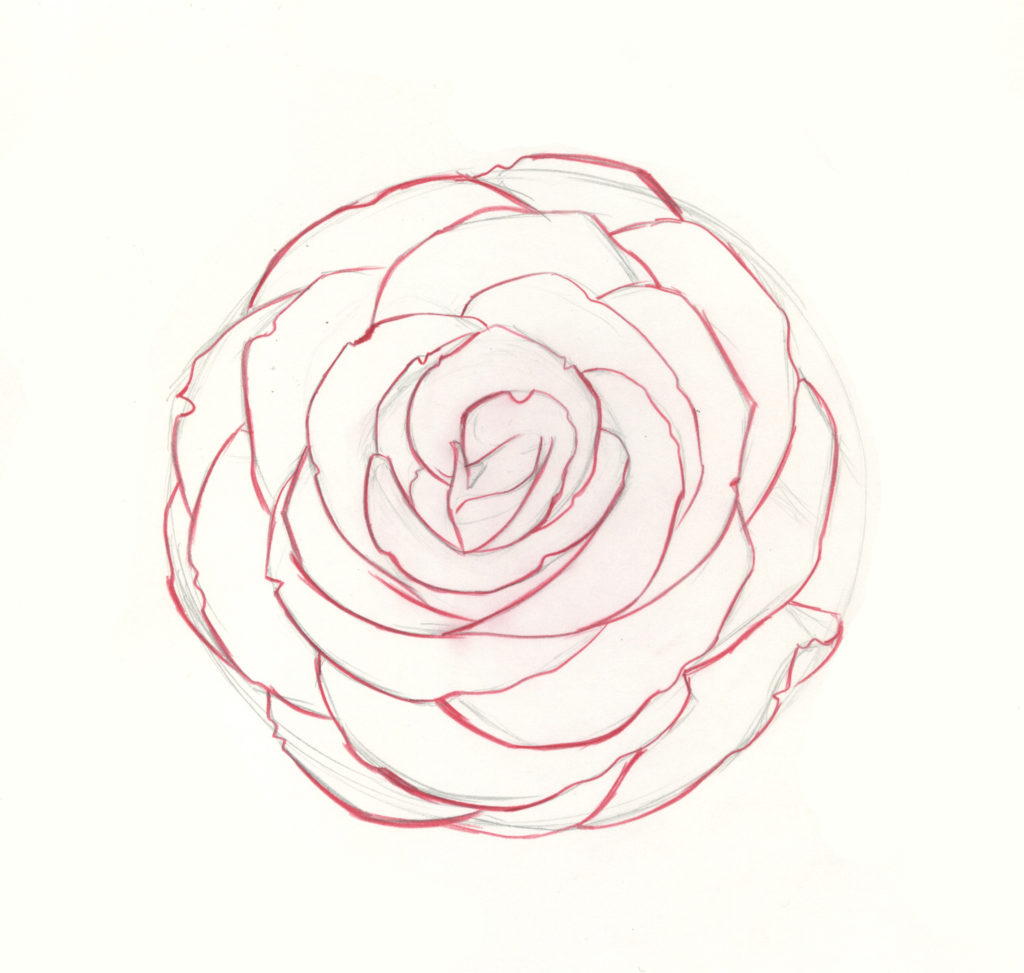
Step 1 — What Pencil to Choose & A Light Touch

It is a good idea to start with a light pencil such as a 2H or 3H. A dull pencil works best, as it glides across the paper more easily when sketching out basic shapes. Keep your movements fluid and loose throughout this process. After all, a rose is a living thing, and maintaining that idea will guide you during each step.
Have a kneaded eraser handy for adjustments.
Draw the basic outline of the bloom. It is not exactly a perfect circle. It just needs to be round. Add a guide indicating the center of the rose. My guide is a rounded out diamond shape.
This particular rose is a head-on view, meaning facing directly into the bloom.
Step 2 — Small, Tight Petals First
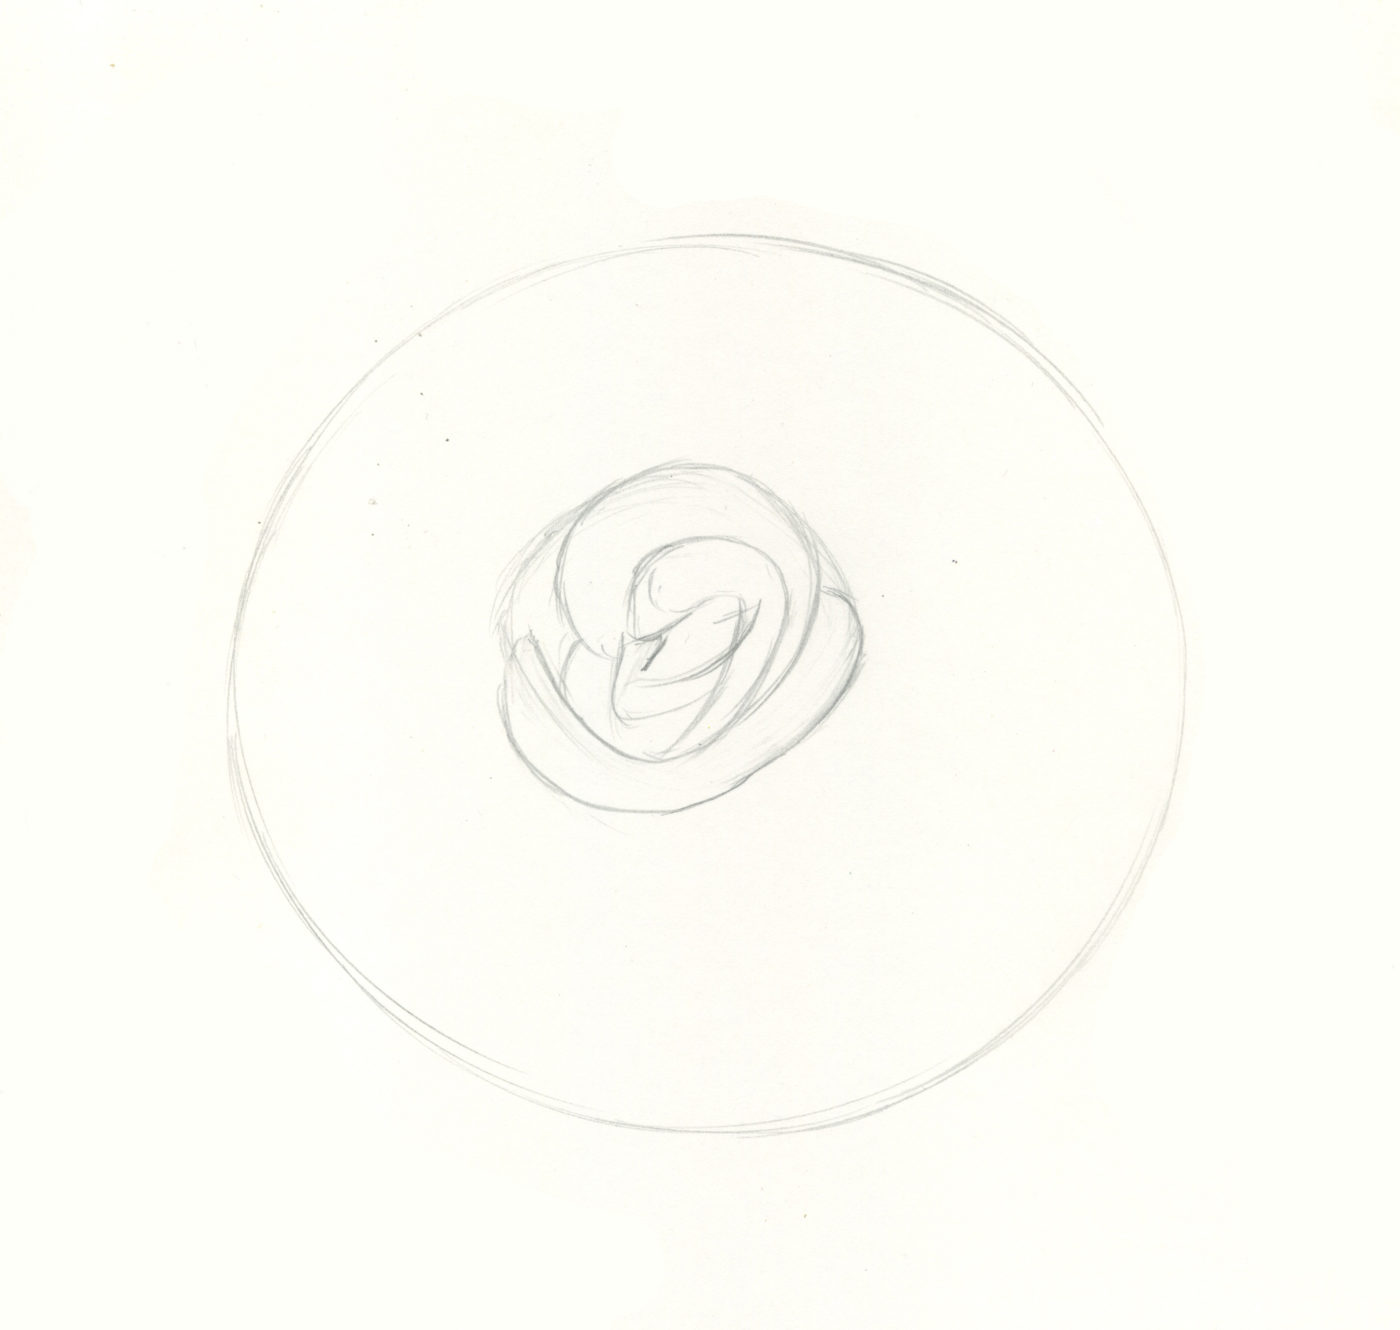
A rose is a bundle of petals that splay out from the center and out. As we move away from the center, the petals open up wider.
Start with small tight petals fitting into the center guide. Remember this is only a sketch. Details will be added later.
Step 3 — C’s and D’s
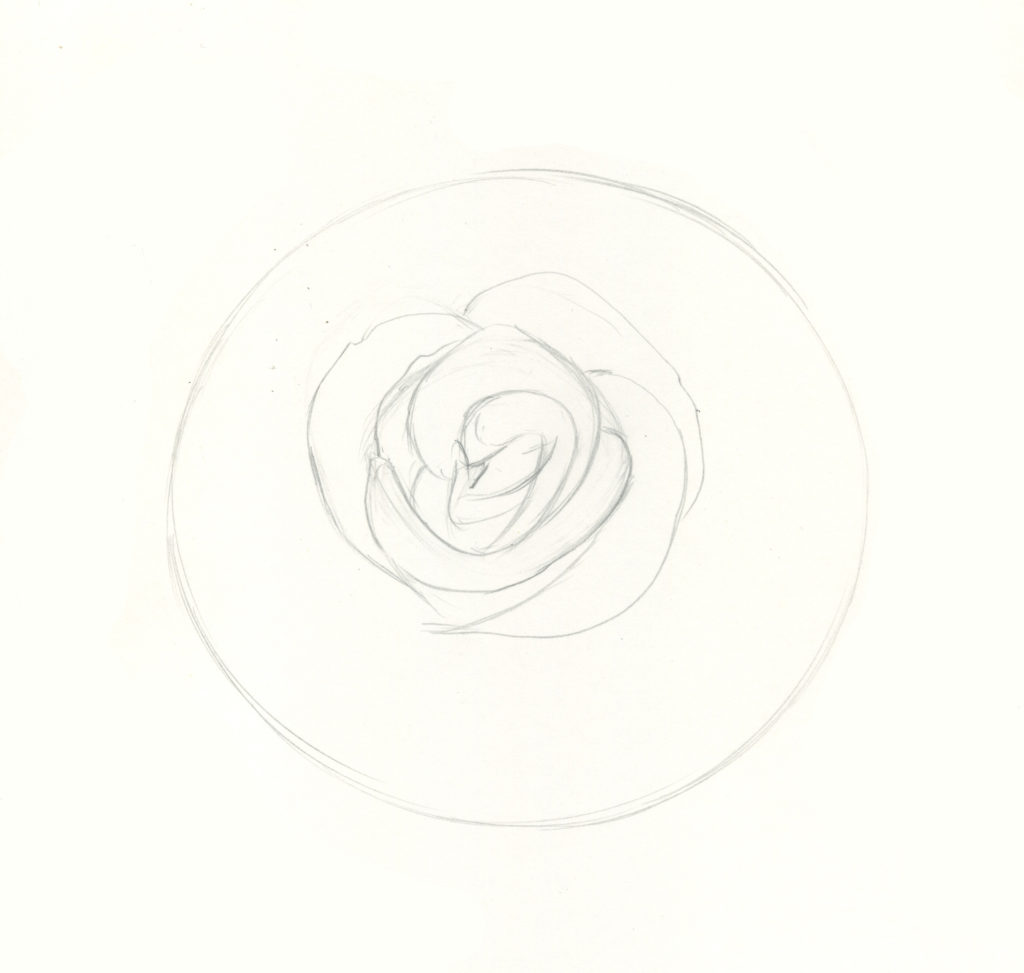
Petals are shaped almost like wide C’s or D’s.
Petals do not grow in patterns nor do they form into neat straight rows. Instead, they alternately overlap, getting larger and wider the further out from the center we get.
Step 4 & 5 — Keep Going!
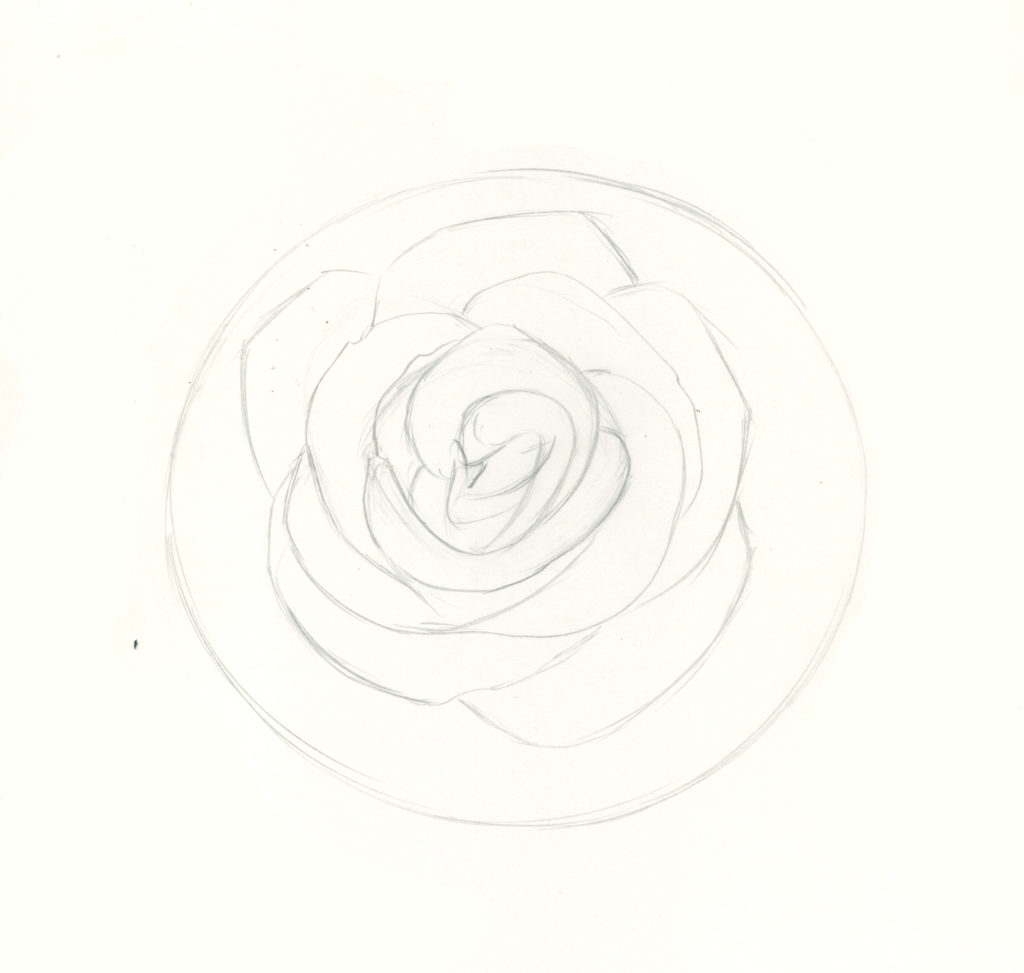
Continue to add larger…
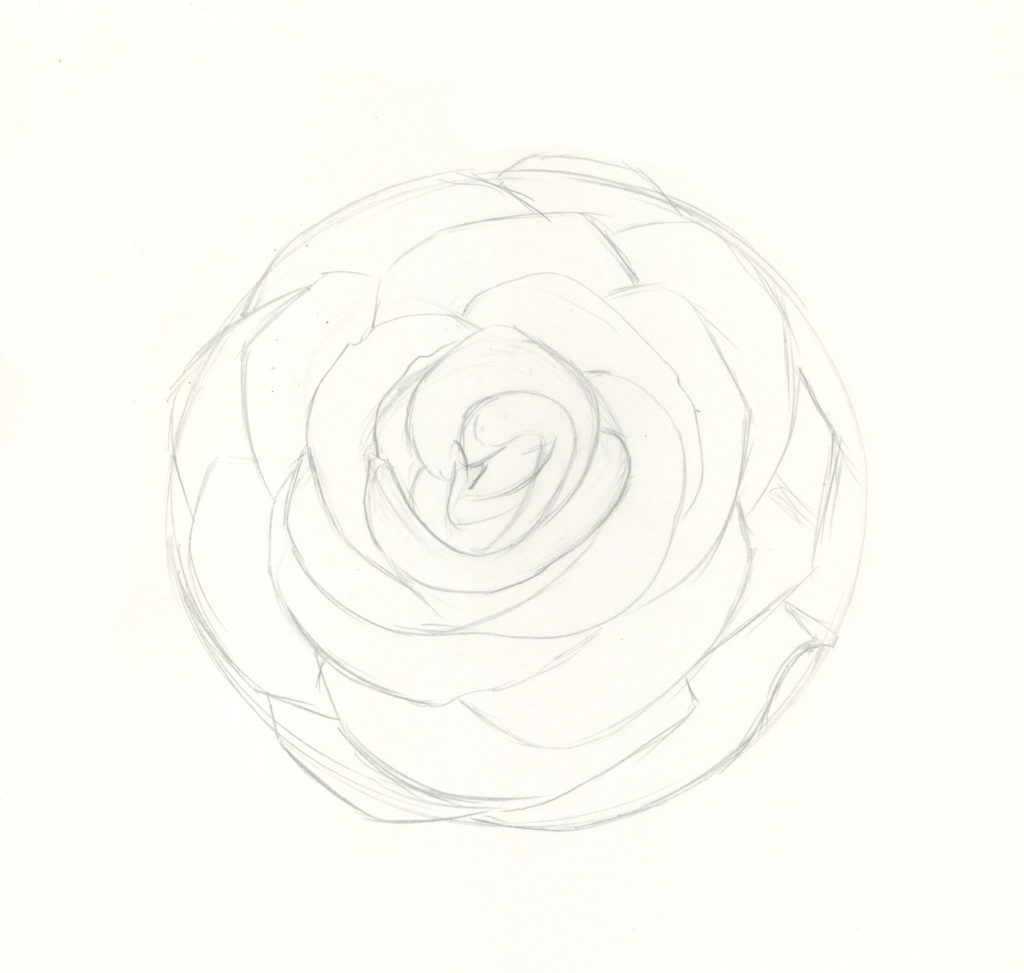
…and wider shapes.
Step 6 — The Addition of Color
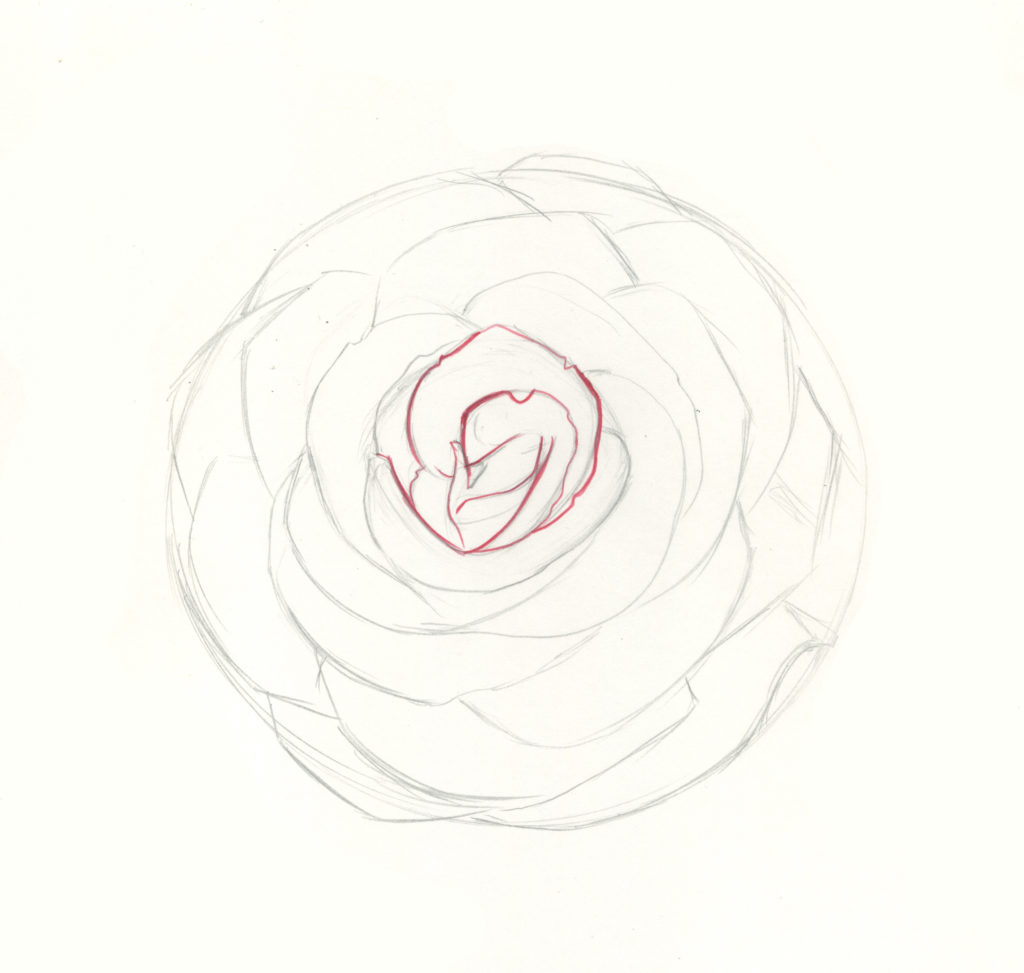
After the base sketch is complete, start emphasizing the anatomy of the petals. Use a sharpened red pencil to add details and outlines.
Like in the sketch phase, start from the center and work outwards.
Step 7 — Create Character
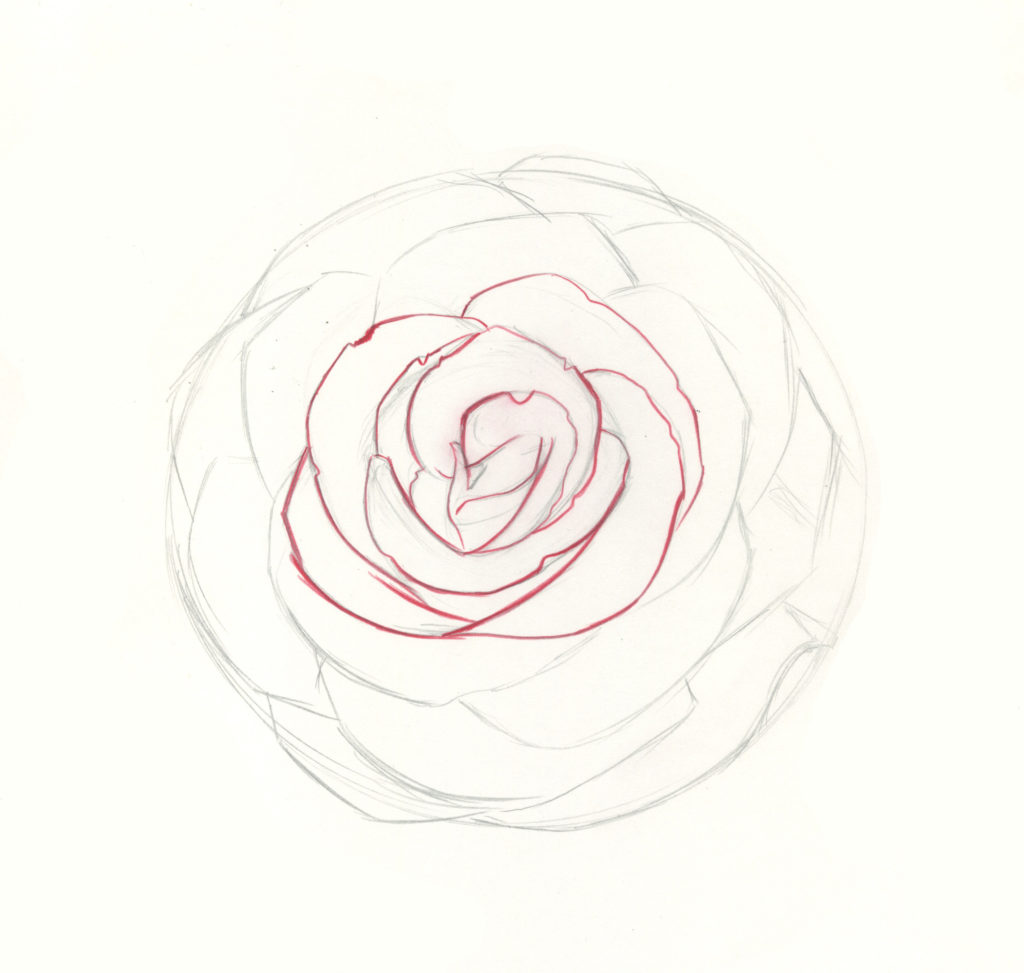
As we rework the sketch, let’s add little touches. Rose petals have bends and grow unevenly. Use a combination of straight and curvy lines to create some character in each petal.
Step 8 — What’s In a Petal
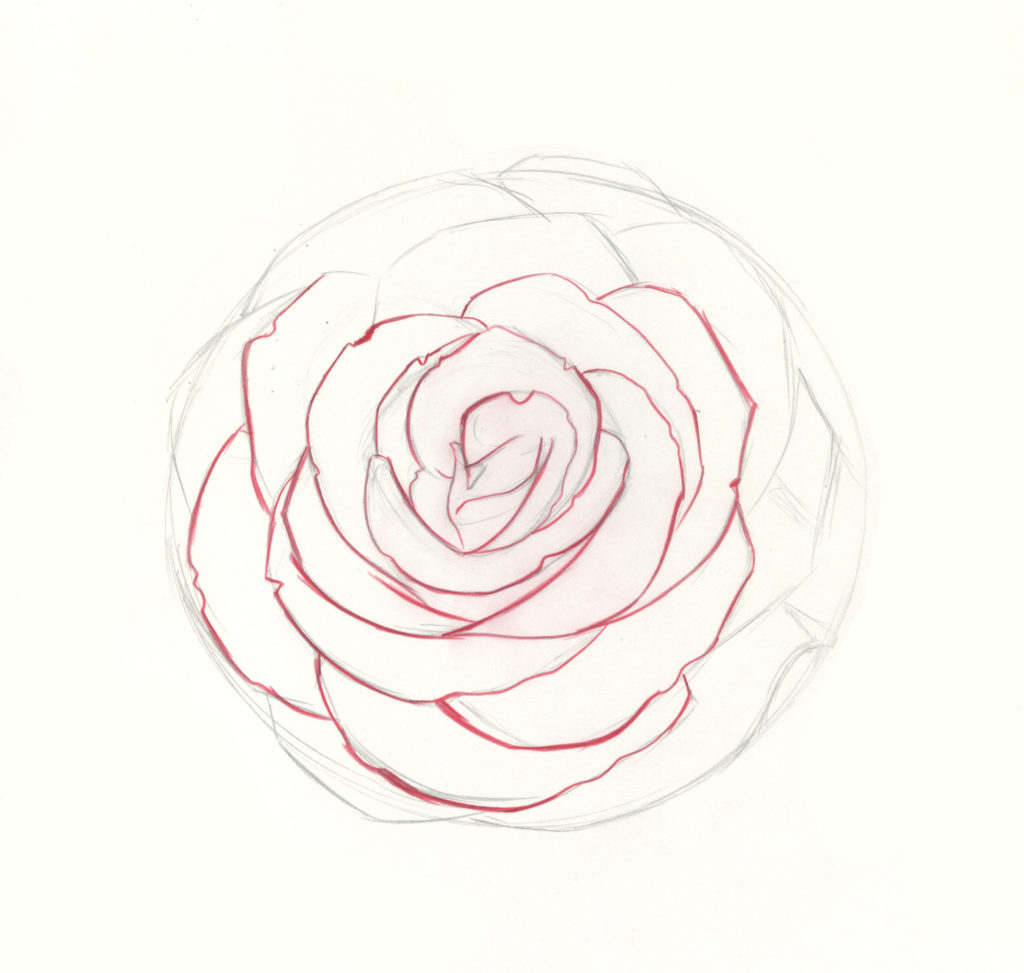
Think of each individual petal as being its own unit and having its own story. Each petal can even appear to age at its own rate.
Some are perfectly curvy and rounded. Some have corners. Others can have little rips and tears. Petals can curl and crinkle.
Step 9 — Variations On and On
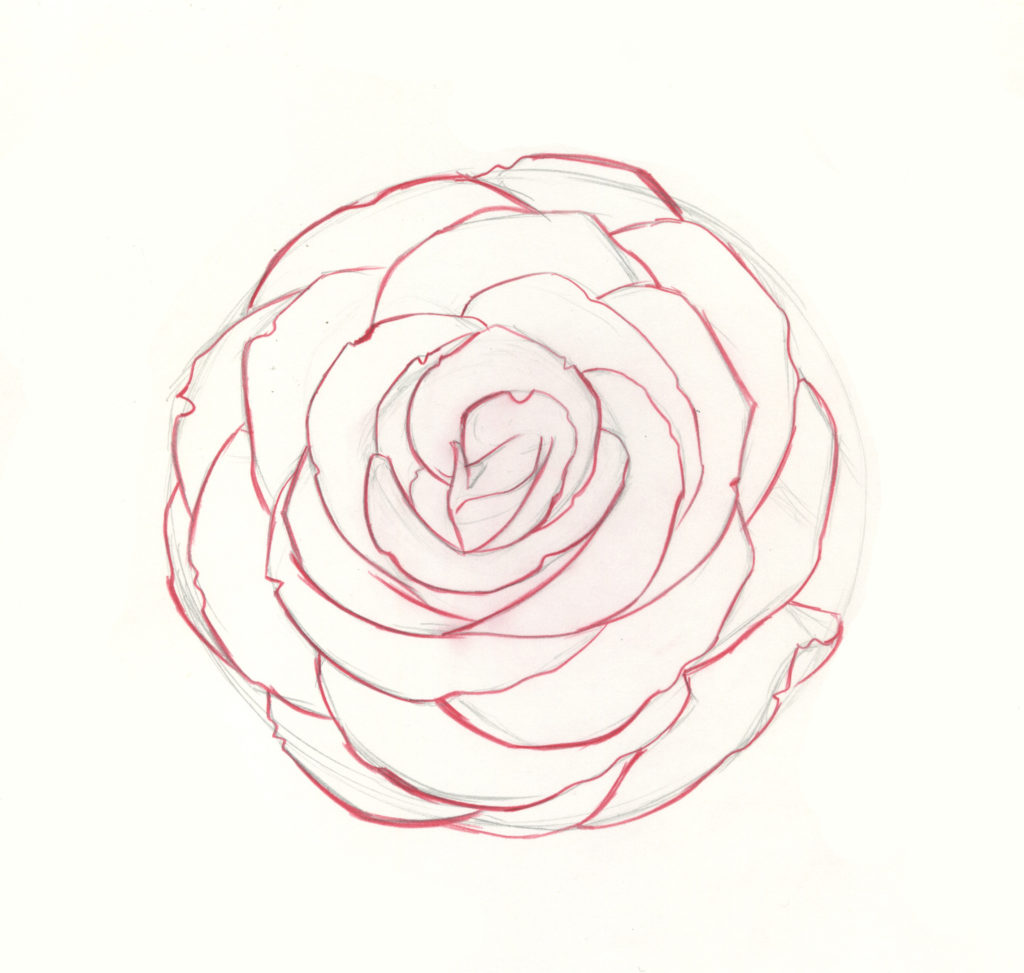
A lot can be conveyed with a seemingly simple line drawing. Line is a language, therefore it can be interesting to play with the weight of each line. Keeping the pencil sharp, press down to darken certain select areas, and keeping fluid and loose in others. Variation creates volume and movement.
Continue to create variations until your rose is complete. Learning how to draw roses is as simple and easy as that. Repeat these steps across a whole page of your sketchbook for an extravaganza of roses — knowing each one will be lovely because it is unique and one of a kind — just like actual roses are.
